
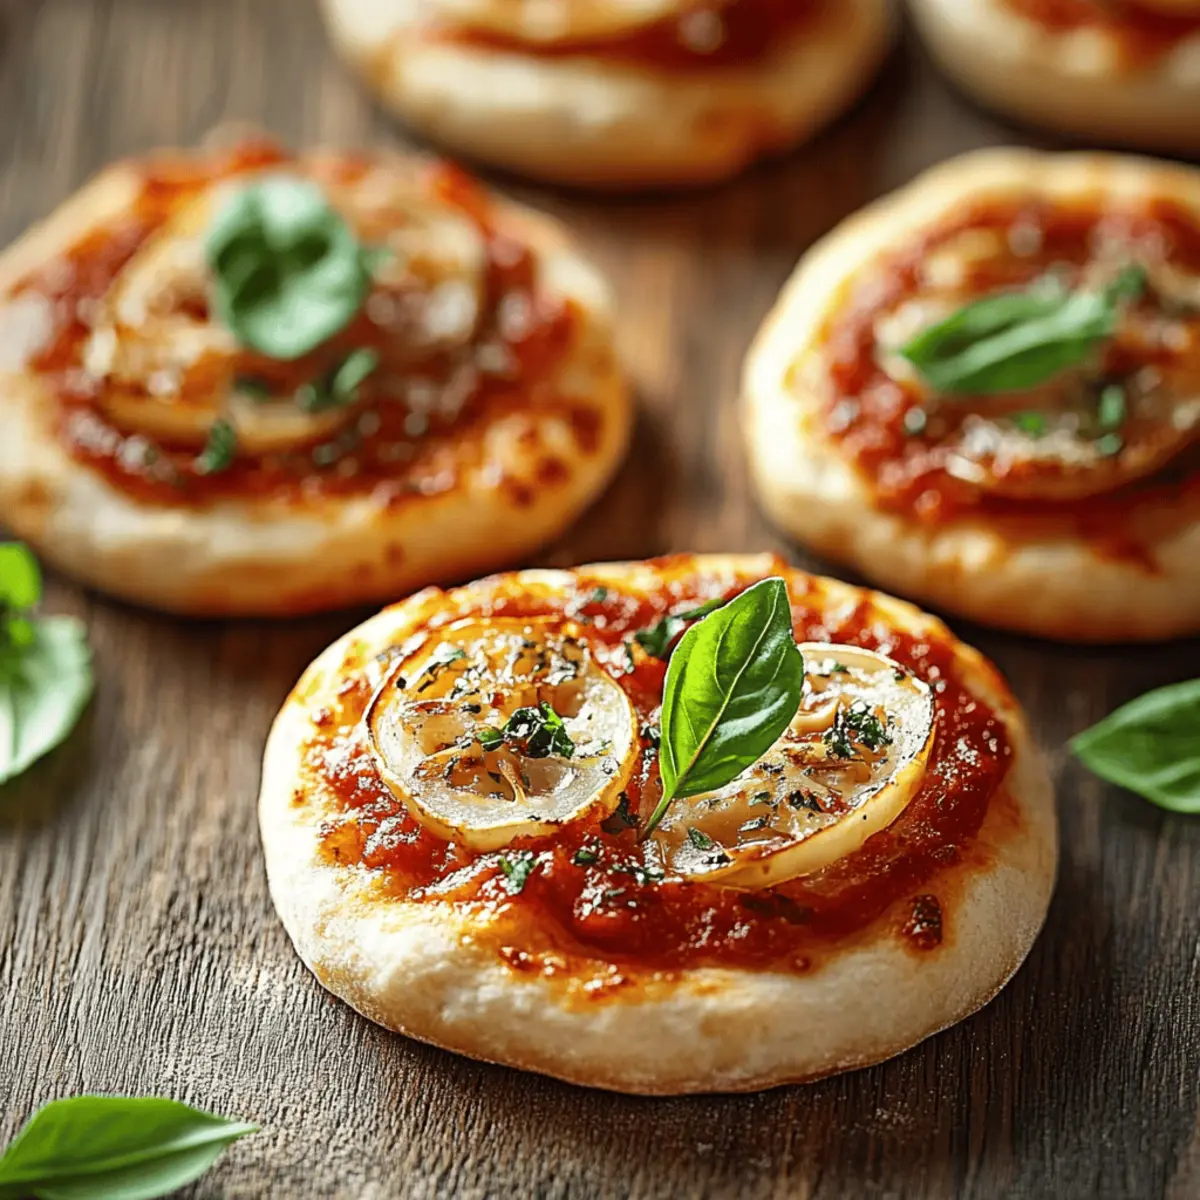
There’s something undeniably delightful about the sound of bubbling cheese and the irresistible aroma of fresh dough wafting through the kitchen. Mini pizzas, my go-to for spontaneous gatherings or cozy weeknight dinners, have a way of transforming the ordinary into the extraordinary. These bite-sized treats are not only quick to whip up but also endlessly customizable, catering to both the adventurous eater and the traditionalist at heart.
Picture a golden crust topped with vibrant vegetables, savory meats, and a sprinkle of fresh herbs—perfect little portions that invite sharing and savoring. Whether you’re juggling a busy schedule or hosting friends for a casual get-together, these mini pizzas offer a solution that marries ease with gourmet appeal. With every bite, you’re not just enjoying a snack; you’re creating joyful moments that linger long after the last slice is gone. Ready to dive into the world of mini pizzas? Let’s turn your kitchen into a pizzeria!
Why love Mini Pizzas for your next meal?
Quick and Easy: Mini pizzas can be assembled in minutes, making them the perfect weeknight meal or last-minute party snack.
Endless Customization: Whether you crave classic pepperoni or gourmet toppings like figs and goat cheese, the options are limitless!
Ideal for Sharing: These bite-sized delights are perfect for casual gatherings, encouraging friends and family to share and explore different flavors together.
Versatile Bases: Choose from the traditional dough, puff pastry, or even bread slices—each brings a unique twist to your creations.
Fresh Flavor: Every bite delivers a burst of Mediterranean goodness, enhanced with fresh herbs and vibrant toppings.
Quick Cleanup: With just a few baking sheets and a couple of bowls, you’ll spend less time cleaning up and more time enjoying your flavorful mini pizzas!
Mini Pizzas Ingredients
For the Dough
• Flour – All-purpose flour provides structural integrity for a beautiful pizza base.
• Salt – Enhances the flavor of the dough, making every bite deliciously savory.
• Yeast – Use active dry yeast dissolved in warm water; this creates a light, airy crust.
• Warm Water – Should be warm (not hot) to ensure perfect fermentation for the dough.
• Olive Oil – Adds richness; can be substituted with a mild oil like canola if preferred.
For the Toppings
• Tomato Sauce – The classic base on which other toppings shine; consider using pesto or crème fraîche for a twist.
• Mozzarella Cheese (Grated) – The quintessential melting cheese that provides creaminess; cheddar or goat cheese can be fun alternatives.
• Pepperoni Slices – Adds a traditional spicy kick; feel free to replace with other meats or vegetarian items.
• Red Onions – Infuses sweetness and sharpness when cooked to perfection.
• Bell Peppers – Provides a crunchy texture and fresh sweetness; try different colors for visual appeal.
• Olives – Adds a briny, salty flavor that complements the cheese beautifully.
• Dried Oregano – This timeless herb brings a touch of Mediterranean flair to your mini pizzas.
• Fresh Basil Leaves – A fragrant garnish that elevates the flavor of these mini pizzas just before serving.
Each of these mini pizzas ingredients works harmoniously to create delightful flavor combinations, making every bite an exciting adventure!
How to Make Mini Pizzas
-
Mix Ingredients: In a large bowl, combine the flour and salt. This mixture forms the backbone of your dough, making sure your mini pizzas are deliciously balanced.
-
Activate Yeast: Dissolve the yeast in warm water, letting it sit for about 5 minutes until it’s bubbly. This step is crucial for creating a light, airy crust that will rise beautifully.
-
Combine: Create a well in the flour mixture. Pour in the yeast mixture and olive oil, mixing until a homogeneous dough forms. Get ready for some serious dough action!
-
Knead Dough: On a lightly floured surface, knead the dough for about 10 minutes, until it’s elastic and no longer sticky. This is where the magic happens, transforming it into a dough that’s perfect for baking.
-
Rise: Shape the dough into a ball and place it in an oiled bowl, covering it with a clean cloth. Let it rise in a warm place for about 1 hour, or until doubled in size. Patience is key here!
For the Topping:
-
Roll Dough: Once risen, roll the dough out to about 5 mm thickness on a floured surface. This thickness gives your mini pizzas the perfect crispy edge.
-
Cut Circles: Use a cutter or glass to cut circles roughly 10 cm in diameter from the dough. These will be the bases for all your tasty toppings!
-
Prepare Baking Sheet: Preheat your oven to 220°C (thermostat 7). Arrange the dough circles on a baking sheet lined with parchment paper; this helps with easy cleanup later!
-
Add Sauce: Spread a thin layer of tomato sauce over each base. This is where the flavor begins to build up, so don’t be shy!
-
Sprinkle Cheese: Evenly sprinkle grated mozzarella over the sauce. This cheesy goodness will melt perfectly, creating that ooey-gooey delight we all love.
-
Top It Up: Add your favorite toppings like pepperoni, sliced red onions, bell peppers, and olives to taste. Get creative with your combinations; the sky’s the limit!
-
Season: Finally, sprinkle dried oregano over the toppings. This classic herb will enhance the Mediterranean flavors that make mini pizzas so irresistible.
Bake:
-
Cook: Bake in the preheated oven for 10–12 minutes, or until the edges are golden brown and the cheese is bubbling. Keep an eye on them; they’ll be ready in no time!
-
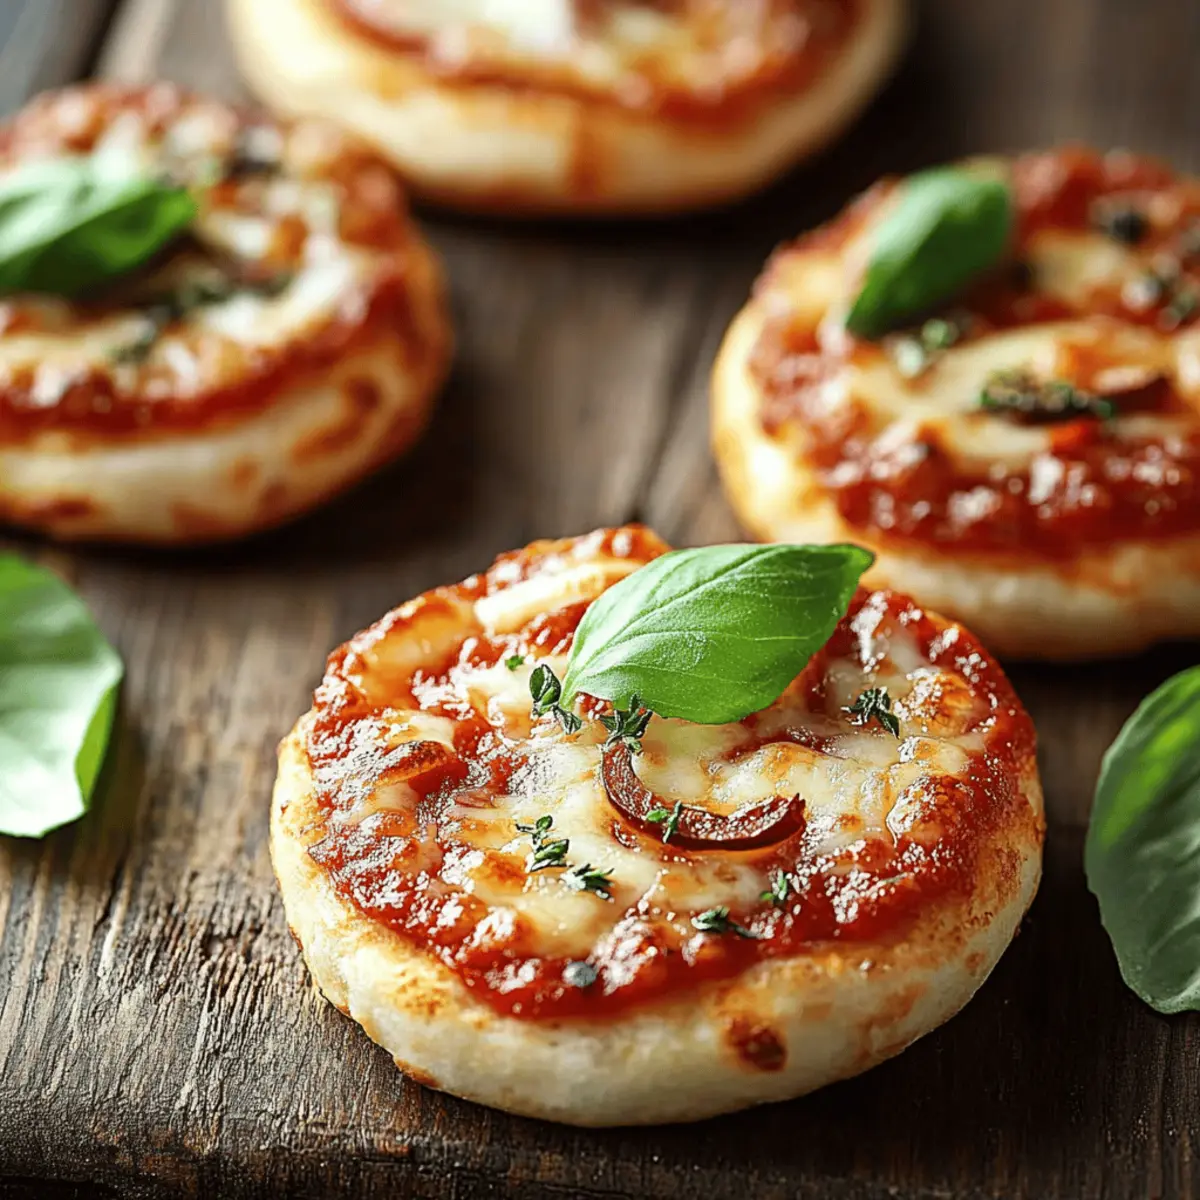
Finish: Remove from the oven and sprinkle fresh basil leaves just before serving. This adds a fragrant touch that’ll impress your guests!
Optional: Drizzle a little olive oil over the top for an extra layer of flavor.
Exact quantities are listed in the recipe card below.
Mini Pizza Variations & Substitutions
Get ready to explore exciting ways to make these mini pizzas your own and delight your senses with fresh flavors!
- Dough Options: Swap traditional dough for puff pastry or bread slices for a quicker, crust alternative. Each brings its unique twist while saving you time.
- Sauce Switch: Replace tomato sauce with pesto or a rich crème fraîche for a creamy, vibrant flavor that elevates your mini pizzas to gourmet status.
- Cheese Change: Trade mozzarella for sharp cheddar or tangy goat cheese for added depth and richness. Mixing cheeses can also create delightful surprises!
- Veggie Exploration: Enhance the color and flavor with seasonal vegetables like zucchini or sun-dried tomatoes. Roasted veggies can bring out sweet, caramelized notes.
- Meat Alternatives: Try grilled chicken, spicy sausage, or plant-based pepperoni for a meaty bite without sacrificing the savory essence.
- Sweet Glam: Add a drizzle of honey over fig and goat cheese mini pizzas for an irresistible sweet-savory balance. It’s a unique flavor twist that will impress your guests!
- Spice Things Up: Boost the heat by adding jalapeños or red pepper flakes to your toppings. Customize the heat level to cater to your crowd’s preferences.
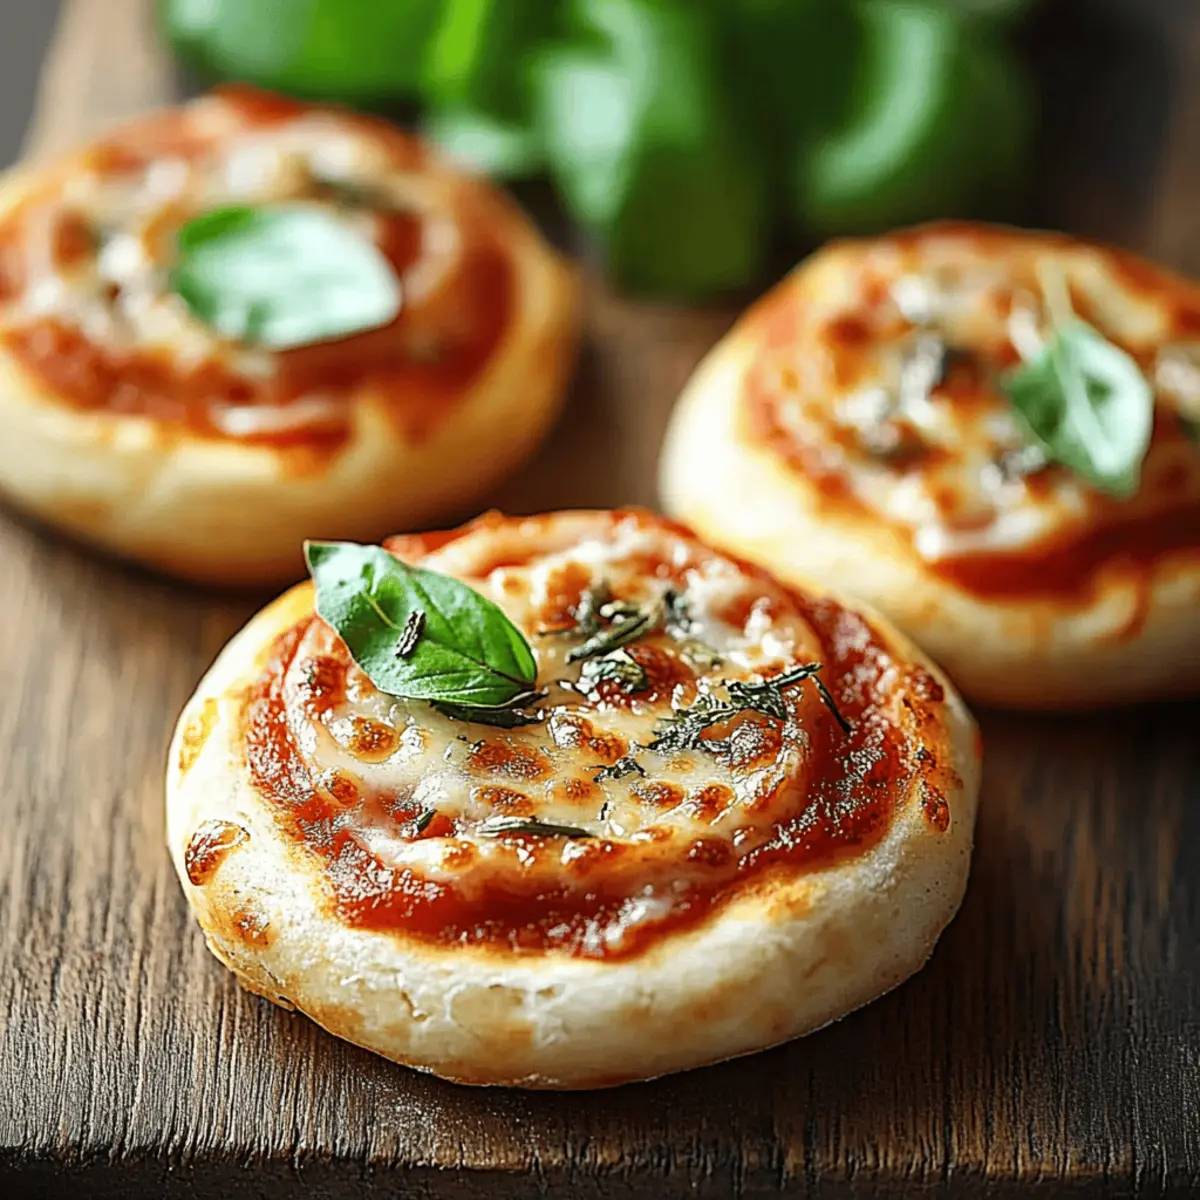
- Herb Infusion: Experiment with fresh herbs like thyme or rosemary for an aromatic touch that introduces a new flavor dimension to your mini pizzas!
How to Store and Freeze Mini Pizzas
Fridge: Store cooled mini pizzas in airtight containers for up to 3 days. This way, they stay fresh and ready for quick snacking!
Freezer: Freeze mini pizzas after cooling completely by layering them with parchment paper in freezer bags. Enjoy them for up to 3 months, perfect for unexpected cravings!
Reheating: To restore crunch, bake frozen mini pizzas in a preheated oven at 180°C for 5–10 minutes. You’ll have a fresh, crispy treat in no time!
Assembly Tip: Prepare and freeze the dough separately to whip up a batch of mini pizzas whenever the mood strikes!
What to Serve with Mini Pizzas?
Transform your gathering with a delightful spread that beautifully complements these customizable culinary bites.
- Mixed Green Salad: Crisp greens tossed with a tangy vinaigrette balance the richness of the pizzas perfectly.
- Garlic Bread Sticks: Bite-sized and warm, these pairs wonderfully with saucy mini pizzas for that extra crunch and flavor.
- Mediterranean Platter: Serve hummus, olives, and feta cheese to echo the Mediterranean flavors of your mini pizzas, enhancing every bite.
- Pasta Salad: A chilled pasta salad with fresh vegetables and Italian dressing adds a refreshing touch to your meal.
- Sparkling Water: A bubbly, refreshing drink that cleanses the palate and elevates the casual dining experience.
- Craft Beer: Opt for a light lager or hoppy IPA; their crispness contrasts the cheesy goodness of mini pizzas beautifully.
- Dessert Platter: Consider mini desserts like brownies or fruit tarts to wrap up your meal on a sweet note after the savory pizza experience.
- Cheese Board: Pair with a variety of cheeses, nuts, and dried fruits to create an inviting starter that sparks conversation.
Expert Tips for Perfect Mini Pizzas
- Pre-Cook Toppings: For items like mushrooms or watery vegetables, pre-cook to prevent soggy mini pizzas. This ensures a crispy base!
- Dough Storage: Make the dough ahead of time and keep it in the fridge. Just roll and top before baking for a fresh batch any night!
- Freezing Friendly: Cool your mini pizzas completely and layer with parchment before freezing. They can last up to 3 months—perfect for last-minute cravings!
- Even Cooking: Avoid overloading with toppings to ensure even cooking and crisp edges. A little goes a long way!
- Alternative Bases: Try puff pastry or pita bread as quicker bases to switch up the texture and speed of your cooking.
- Cut Neatly: Use a sharp knife or pizza cutter to achieve clean edges when cutting the dough; this makes for more professional-looking mini pizzas!
Make Ahead Options
These mini pizzas are perfect for meal prep enthusiasts looking to save time! You can prepare the dough and shape the bases up to 24 hours in advance, storing them covered in the refrigerator to maintain their freshness. If you prefer, you can also pre-bake the plain bases and freeze them for up to 3 months—just remember to layer them with parchment paper to prevent sticking. When you’re ready to enjoy your mini pizzas, simply add your toppings and bake at 220°C for 10-12 minutes. This way, you can ensure a delicious, freshly baked treat with minimal effort, perfect for busy weeknights or spontaneous gatherings!
Mini Pizzas Recipe FAQs
How do I know when my ingredients are ripe or good to use?
Absolutely! For optimal flavor and texture, check that your tomatoes are vibrant and firm, with no dark spots or blemishes. When selecting bell peppers, look for those that are shiny and unblemished, while avoiding any that feel soft or wrinkled. Fresh herbs like basil should smell fragrant and be vibrant green, indicating they’re ready to add a burst of flavor to your mini pizzas.
How should I store leftover mini pizzas?
Very! After they’ve cooled, you can store your mini pizzas in airtight containers in the refrigerator for up to 3 days. This way, they retain their flavor and texture. If you need them to last longer, let them cool completely, layer them with parchment paper, and store them in freezer bags to keep for up to 3 months.
Can I freeze mini pizzas? If so, how?
Absolutely! Once your mini pizzas are fully cooled, place a piece of parchment paper between each pizza and stack them in a freezer-safe bag or container. They can be frozen for up to 3 months. When ready to enjoy, preheat your oven to 180°C (350°F), place the frozen mini pizzas on a baking sheet, and bake for about 5–10 minutes until warm and crispy.
What should I do if my dough doesn’t rise as expected?
No need to worry! Ensure your yeast is fresh. If your dough isn’t rising, it may be because the water was too hot or too cold when activating the yeast. Ideally, water should be warm but not hot—around 37°C (about 100°F). If you suspect that temperature was an issue, don’t hesitate to start over with a new batch of yeast and warm water for a successful rise.
Can I accommodate dietary restrictions with mini pizzas?
Certainly! Mini pizzas are wonderfully adaptable. For a gluten-free option, substitute regular flour with a gluten-free blend. If you have dairy allergies, opt for vegan cheese or simply pile on more vegetables. Also, those who like to avoid meat can switch pepperoni for grilled veggies or plant-based alternatives. The variations are endless!
How can I ensure my mini pizzas have a crispy crust?
To achieve that perfect crunch, avoid overloading your mini pizzas with toppings that release moisture while baking. Pre-cook any toppings like mushrooms or watery vegetables before adding them to your mini pizzas. Also, be sure to roll the dough out to the suggested thickness and bake at a high temperature; this helps in creating a golden, crispy edge that’s simply irresistible!

Irresistibly Easy Mini Pizzas for Flavorful Entertaining
Ingredients
Equipment
Method
- In a large bowl, combine the flour and salt.
- Dissolve the yeast in warm water and let sit for about 5 minutes.
- Create a well in the flour mixture and pour in the yeast mixture and olive oil, mixing until a homogeneous dough forms.
- Knead the dough on a floured surface for about 10 minutes until elastic.
- Shape into a ball, place in an oiled bowl, and cover with a cloth. Let it rise in a warm place for about 1 hour.
- Roll the dough out to about 5 mm thickness.
- Cut circles roughly 10 cm in diameter from the dough.
- Preheat your oven to 220°C (thermostat 7). Arrange dough circles on a baking sheet lined with parchment paper.
- Spread tomato sauce over each base.
- Evenly sprinkle grated mozzarella over the sauce.
- Add your favorite toppings like pepperoni, sliced onions, bell peppers, and olives.
- Sprinkle dried oregano over the toppings.
- Bake for 10–12 minutes until edges are golden brown and cheese is bubbling.
- Remove from oven and sprinkle fresh basil leaves before serving.